 5.0 out of 5
 Jesse Enkelaar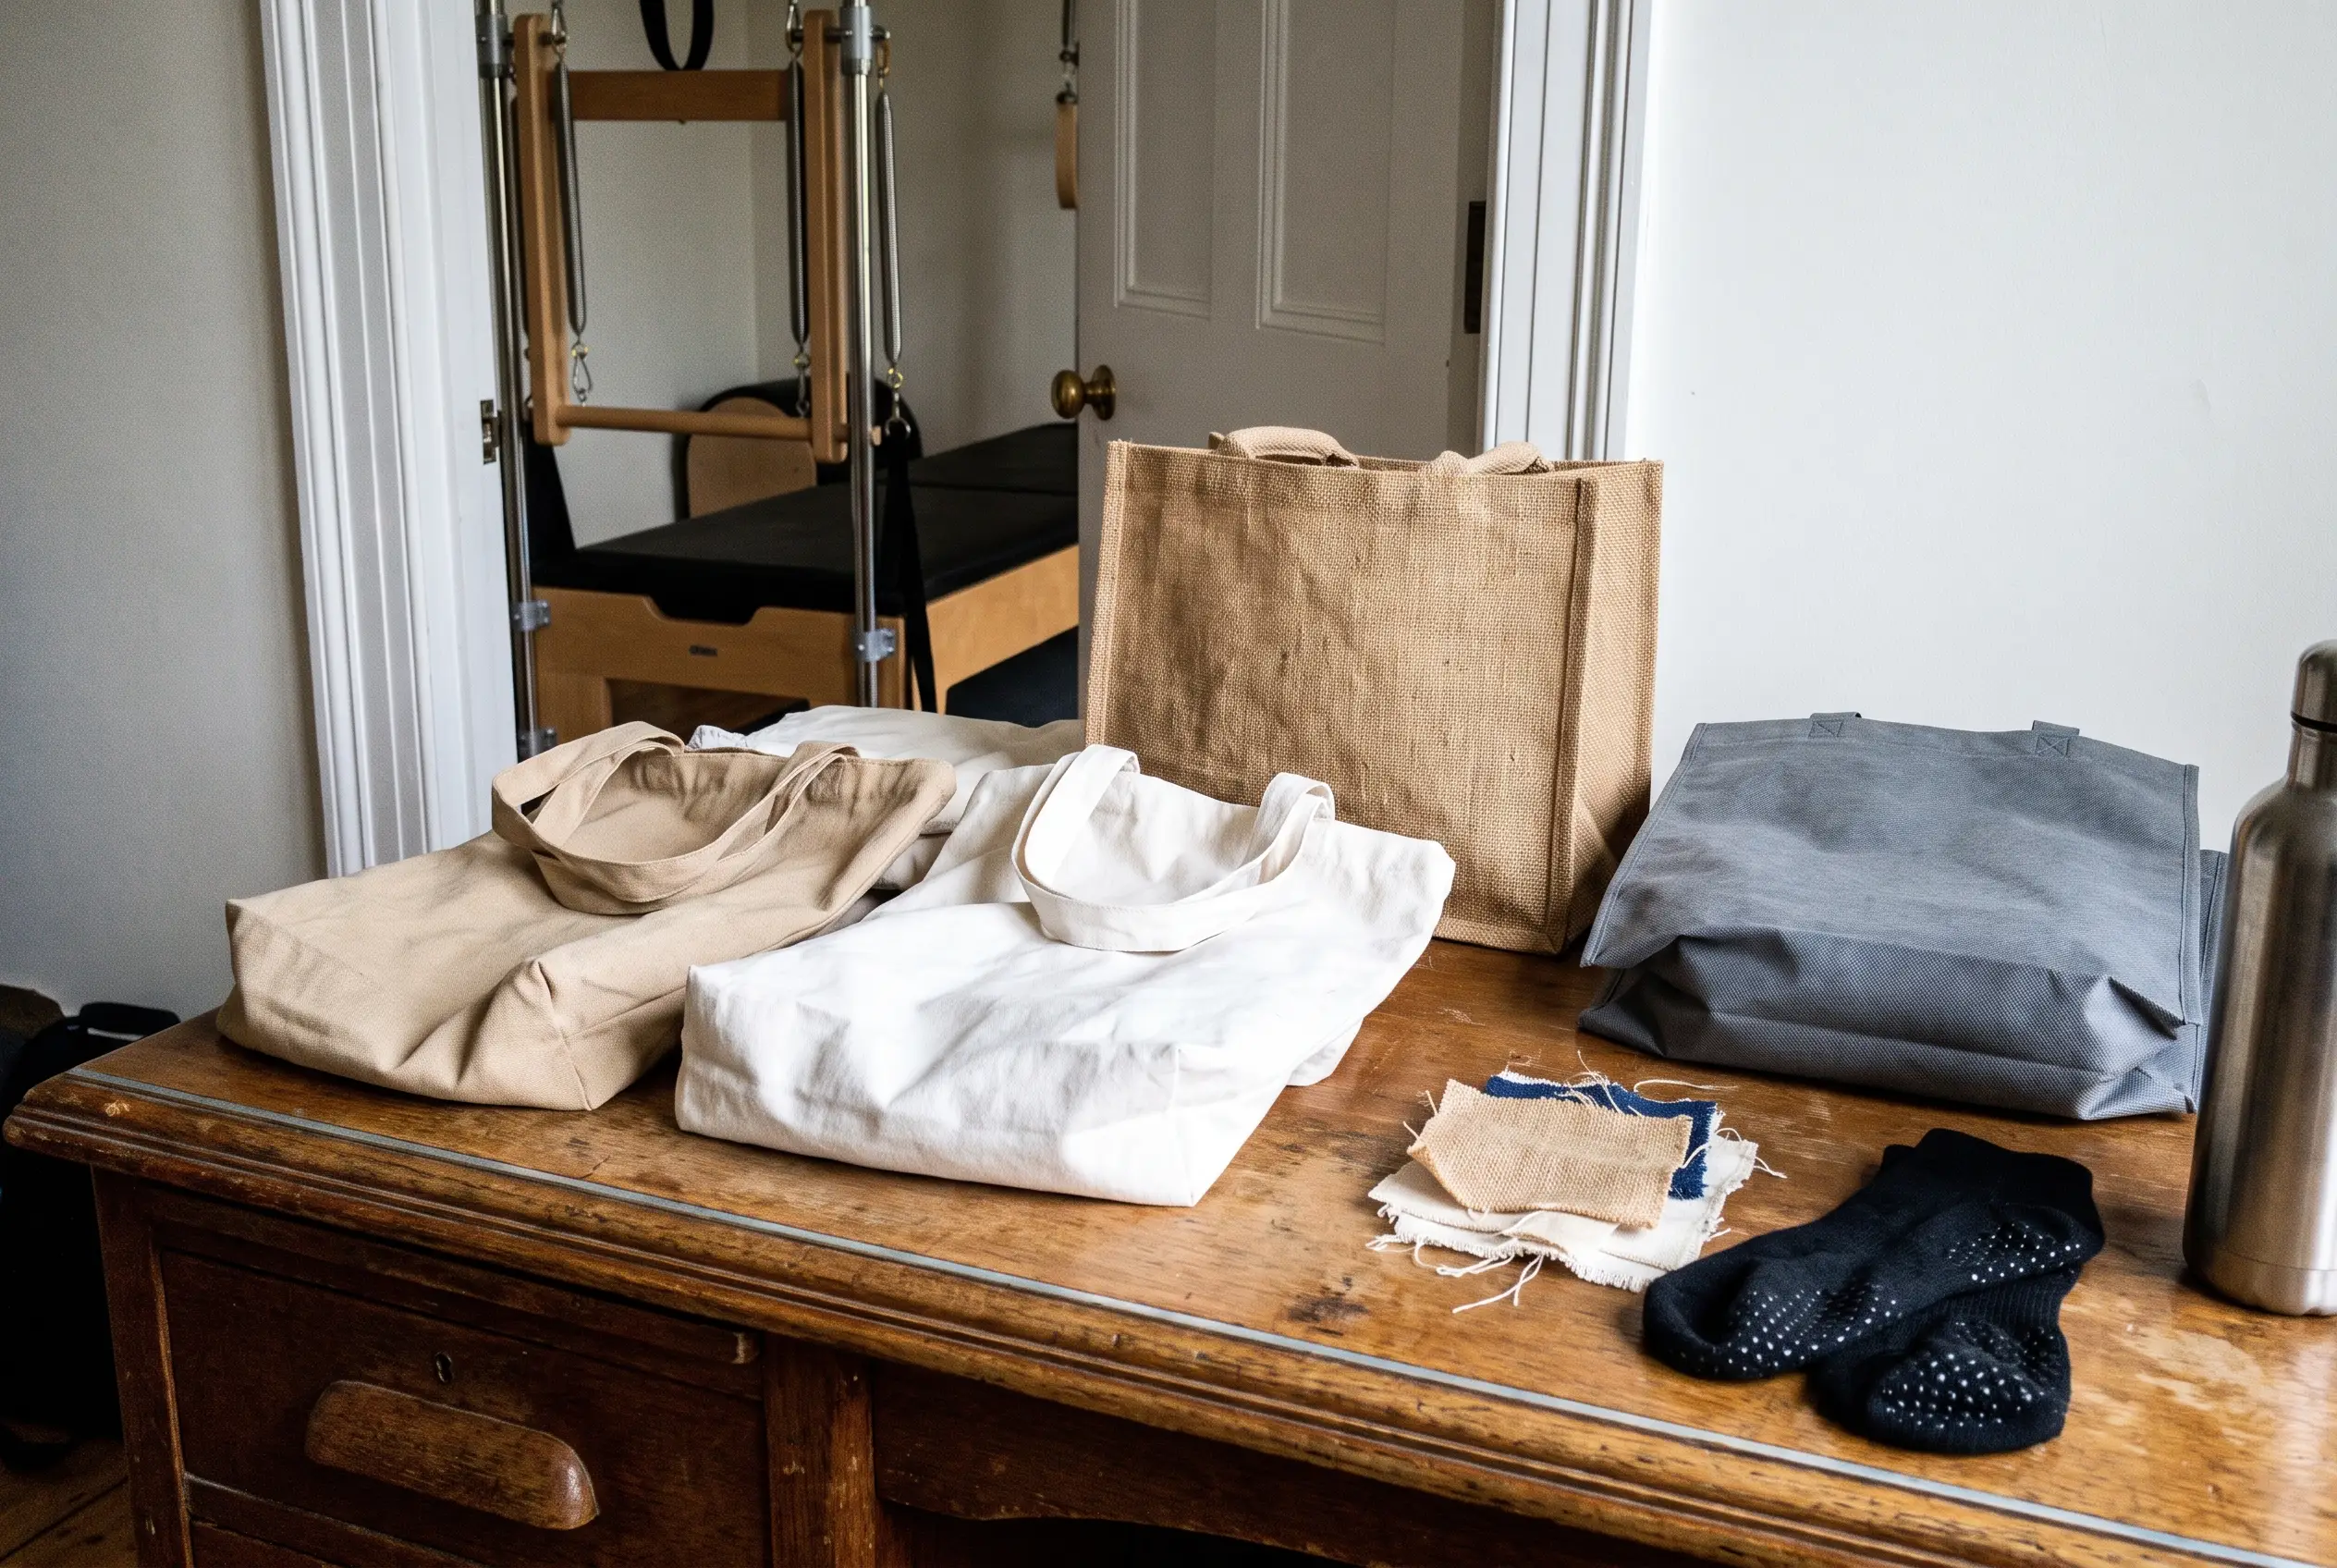
If you want the short answer, cotton canvas is usually the best all-round tote material for studios. It balances print quality, durability, feel, and reuse better than most alternatives. Non-woven bags make sense when you need lower-cost volume for events or handouts. Recycled options can support an eco-led brand story. Jute is more niche, but it can work well when you want a textured, style-led look.
The right choice depends less on the material name alone and more on how the bag will be used within your broader mix of custom products. A front-desk retail tote, a member welcome bag, a workshop giveaway, and an everyday carry bag for heavier items do not need the same fabric or build. Before you order, look at the full spec: fabric weight, print method, construction, washability, budget, minimums, and lead time. That is what turns a nice idea into a bag people actually keep using.
Start with what the bag needs to do in your studio
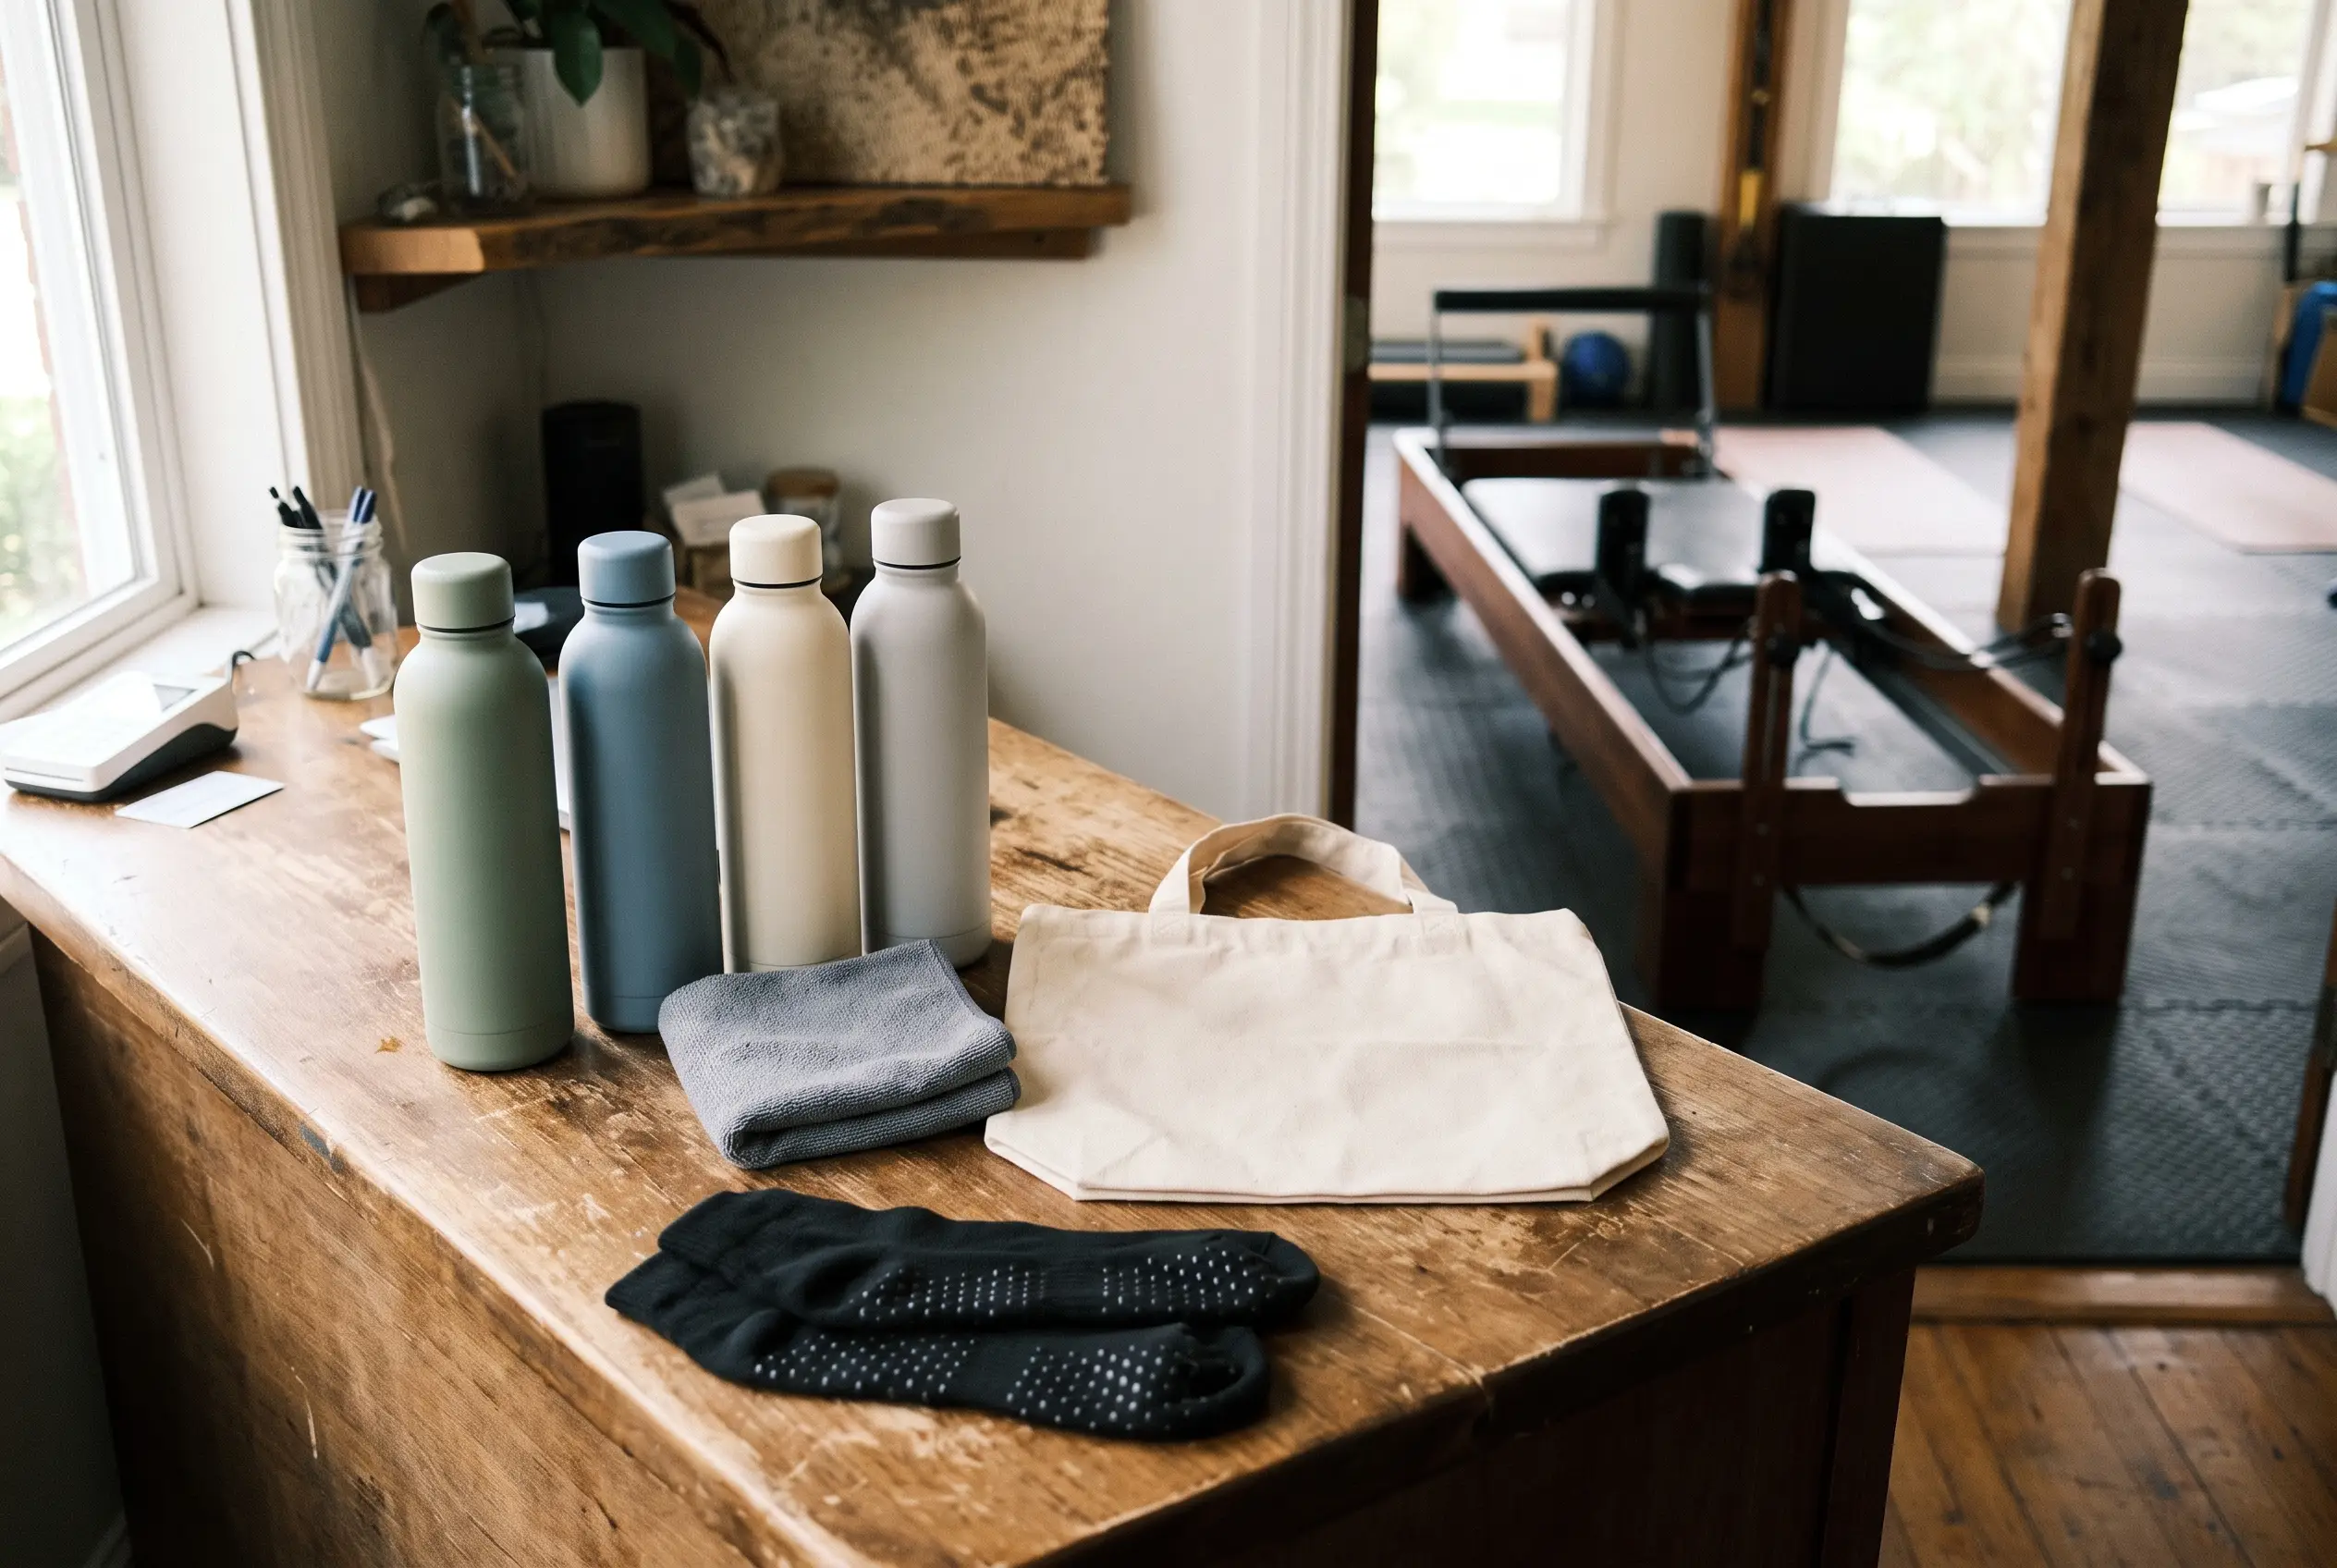
The fastest way to choose the right tote is to start with the use case, not the fabric. If the bag will be sold at the front desk as retail merch, especially alongside the yoga and pilates accessories that sell most, people expect it to feel sturdy, look polished, and hold up to repeat use. That usually pushes you toward heavier cotton canvas or another more structured material. If the bag is for a workshop, launch event, or pop-up giveaway, the brief may be very different. In that case, a lighter and lower-cost option can be the better fit, especially if the bag only needs to carry flyers, socks, or a water bottle home.
Think about what your members or staff will actually put inside it. Grip socks, notebooks, and promo cards are easy loads. Apparel, water bottles, towels, and daily essentials ask more from the fabric, seams, and handles. A bag that feels fine when empty can lose its shape fast if the base is too soft or the handles are lightly attached. Everyday use also raises the bar for comfort, reusability, and how the bag looks after repeated wear.
Before you compare materials, set the priority in plain terms. Do you want a premium feel for retail? The easiest possible print surface for a clean logo? The lowest unit cost for a larger event run? A recycled or organic angle that supports your brand story? Or maximum reuse so the bag becomes a walking ad for the studio? Once that priority is clear, the trade-offs become much easier to judge.
Compare the main tote bag material options side by side
When studios compare custom tote bag materials, there is rarely one universal winner. The best choice depends on whether the bag is meant to be long-term merch, a short-term handout, or a more premium branded gift.
| Material | Best fit for | Print friendliness | Durability and care | Look and budget |
|---|---|---|---|---|
| Cotton canvas | Retail merch, everyday member use, heavier carry | Usually the most flexible option for screen print, direct-to-garment, transfers, and some embroidery. Smooth, tighter weaves handle detail better. Bright white fabric makes colours pop more than natural or unbleached bases. | Strong reusable option. Washability depends on fabric weight, finish, and print method, but it generally handles repeat use well. | The safest all-round choice for most studios. Can feel casual or premium depending on weight and construction. |
| Non-woven polypropylene | High-volume promotions, launch events, low-cost welcome bags | Works best for simpler logos and bold artwork. Fine detail and soft-hand print results are more limited than on canvas. | Good for lighter use, but less suited to repeated washing and long-term retail expectations. | Usually budget-friendly and practical at volume, but less elevated in hand. |
| Jute | Style-led gifting, textured lifestyle merch, niche premium concepts | The coarse surface can make very fine detail harder. Simpler graphics usually translate better. | Durable in structure, but not the easiest care option and not ideal if you want a soft, washable everyday tote. | Distinctive, natural-looking, and more design-led than versatile. |
| Recycled blends | Studios that want reuse plus a stronger eco-led message | Print results vary by fibre mix and surface finish. Some feel close to standard canvas; others have more texture or colour variation. | Performance depends on the exact blend, so check the spec rather than assuming all recycled fabrics behave the same. | Can support brand messaging well, often at a higher cost than basic stock options. |
| Organic cotton | Premium branded merch with a natural materials story | Usually prints much like standard cotton, with white fabric giving the cleanest colour result and natural tones giving a softer look. | Good reusable option, with care still dependent on weight and decoration method. | Often a step up in cost, but useful when material choice is part of the brand positioning. |
If you are unsure, canvas is still the easiest starting point. It gives most studios the broadest room to get the feel, print, and reuse level right without overcomplicating the project.
Choose the fabric weight before you choose the artwork
Material type matters, but fabric weight often decides how the bag actually feels in daily use.
- Lighter bags in the 5 to 6 oz range are common for giveaways, event packs, and simple promo use. They help keep unit cost and shipping weight down, but they usually feel softer, less structured, and less retail-ready.
- Midweight options around 8 to 10 oz are often the sweet spot for reusable studio totes. They feel sturdier in hand, carry everyday items more confidently, and still avoid some of the bulk and cost that come with heavier canvas.
- Heavier canvas at 12 oz and up usually gives the most premium retail feel. These bags hold shape better, tend to look more substantial on display, and are better suited when members may carry water bottles, apparel, towels, or other heavier items regularly.
- Higher weight affects more than strength. It changes how the bag stands up when filled, how thick the seams feel, how much space it takes in shipping cartons, and how structured the finished bag looks on a shelf or in a member’s hand.
- Weight and weave also affect decoration. A denser, more stable surface generally gives artwork a cleaner base, especially for logos with fine lines or larger solid areas. Lighter or looser fabrics can feel less crisp and may show more movement in the print area.
- Do not judge durability by fabric weight alone. A lighter bag with better stitching and handle attachment can outperform a heavier bag with weak construction. The best approach is to treat weight and build as a pair, not separate decisions.
Match the bag material to the print style you want
Once you narrow the fabric, make sure it supports the decoration method you want. Cotton and canvas usually give the broadest flexibility, which is another reason they work so well for studio totes. Screen printing is often the most reliable choice for simple logos, bold shapes, and larger runs. It works well on many cotton bags and can also be used on some non-woven styles, although the final look depends on the bag surface and ink system.
Direct-to-garment printing, often shortened to DTG, is usually best on cotton-based bags with a smoother surface. It is useful when you want more detail or a softer printed feel than some transfer methods. Heat transfer and other digital transfer approaches can be a good fit for smaller runs, multicolour artwork, or jobs that need flexibility, but the feel of the decorated area can be different from ink printed directly into the fabric. On textured or coarse surfaces, very fine detail may not look as clean.
Sublimation is more specific. It normally works best on white or very light polyester-rich surfaces, so it is less common for classic cotton studio totes. Embroidery can look great on heavier, stable fabrics when you want a more elevated finish, but it is less ideal on very thin bags or heavily textured materials where the stitching may distort the surface.
Bag colour matters as much as method. Light artwork on a dark tote often needs extra steps, such as an underbase or a different transfer route, to stay visible. Natural or unbleached fabrics can also warm up the final colour compared with a bright white base. For care, there is no one-rule answer: repeated washing, friction, sun exposure, and everyday wear can all change how a print looks over time, so always check care guidance for the exact fabric and decoration method being used.
Don’t overlook the build details
A good material can still turn into a disappointing bag if the construction is wrong. These are the details worth checking early.
- Look at how the handles are attached. Reinforced stitching at the stress points matters, especially if the tote may carry water bottles, towels, or folded apparel. Weak handle attachment is one of the quickest ways a bag feels low quality.
- Check handle length and handle width together. A tote meant for everyday member use usually needs enough drop to sit comfortably on the shoulder. Shorter handles may be fine for event giveaways or staff packs that are carried by hand.
- Think about gusset depth and base shape. A flat bag works for flyers, socks, and light extras, but a gusseted bag is more useful if you want space for bottles, folded layers, notebooks, or a fuller welcome pack.
- Match body size to the real use case. Oversized totes can feel generous in theory but awkward in practice if the contents are small. Too-small bags frustrate people quickly when they cannot fit the daily essentials that matter.
- Add-ons such as zippers, inside pockets, bottle dividers, or a structured base are worth considering when the tote is a premium retail item or a staff kit that needs real organisation. For basic giveaways, they often add cost without adding enough value.
- When you review a sample, fill it. Check strap strength, seam finish, shape retention, and whether the bag slumps, twists, or tips awkwardly once it has weight inside. A quick real-use test tells you more than an empty flat sample ever will.
Know what really changes the price
The price of a custom tote is shaped by a stack of decisions, not just the material name. Fabric family is one factor, but weight, bag size, colour, handle style, gusset, lining, and construction complexity all move the cost. A lightweight stock cotton tote with a one-colour print is a very different project from a heavier fully sewn canvas bag with custom dimensions, inside features, and multiple print areas.
Decoration can change pricing just as fast as construction. Print method, number of colours, number of print locations, and artwork coverage all matter. Dark bags can be more expensive to decorate because lighter artwork may require extra print setup or additional layers for coverage. Embroidery can also add cost depending on stitch count and placement. Even when the base bag looks simple, the branding approach can shift the budget significantly.
Minimums are often driven by the decoration route or by fully custom manufacturing, not by tote bags as a category. Decorating blank stock bags is usually the easier route when you want more flexibility, a lower commitment, or faster production. You choose from an existing bag, then add your branding. A fully custom sewn tote gives you more control over material, weight, size, colour, handles, and finishing, but it typically comes with more setup, more proofing, higher minimums, and a longer production path.
There are also hidden price factors that catch studios out: rush timing, multiple proof rounds, special packaging, heavy fabric that increases shipping weight, and artwork that needs extra prep before printing. If you want quotes that are actually comparable, every supplier needs the same brief and the same decoration assumptions from the start.
Build a clear brief before you start your design
A solid brief saves time, reduces back-and-forth, and makes pricing much more useful.
- Start with intended use. Say whether the bag is for retail merch, a launch event, workshop packs, staff kits, or everyday member carry. That one line shapes almost every later decision.
- Set the target quantity early. Quantity affects unit price, print route, and whether a stock bag or a fully custom sewn bag makes more sense.
- Choose the material family and likely weight. If you are not sure, describe the feel you want: lightweight giveaway, sturdy reusable tote, or premium retail canvas.
- List the size details. Include approximate body dimensions, whether you want a gusset, and whether the bag needs to fit bottles, towels, apparel, notebooks, or just light inserts.
- Define the handles. Note whether the bag should be hand-carry, shoulder-carry, or both, and flag any preference on strap width or reinforcement.
- Specify bag colour and finish. White, natural, unbleached, dyed, and dark colours all affect how the artwork will look and what print method is most practical.
- Outline the branding plan. Include the preferred print method if you know it, artwork placement, number of print locations, and whether you want simple logo application or a more premium finish like embroidery.
- Send usable artwork files. Suppliers normally need clean vector files or high-resolution artwork, plus any font, colour, or sizing references. Missing files and slow proof approvals can delay the entire project.
- Ask for a sample or proof when feel, colour accuracy, or print durability matters. If the tote is part of your studio retail line, this step is usually worth it.
- Finish with a deadline and budget range. Once that brief is complete, it becomes much easier to request pricing, compare quotes properly, and start your design, move into mockups, or get design support. If you are working with a studio-merch partner like PilatesGoods, a clearer brief also makes the mockup and production conversation faster from day one.